This post follows: Part 6: Handling Input for Virtual / Mixed Reality Apps
We can implement input handling through custom scripts by directly managing the camera and input sources but with availability of Unity UI, we have the option of using the Event System; this enables us to use the same approach for UI elements and world scene placed GameObjects.
In a typical Unity scene with an interactive UI element such as a button or slider, the UI canvas and Event System is automatically included. By default, the UI elements are accessible without extra configuration steps on the Event System and with the necessary events defined — it will just work, like in the earlier examples using the Slider UI.

The Event System can also work with in-scene 2D and 3D objects provided the objects host Event Trigger scripts and configured with corresponding event handlers. The key steps to enable interaction with the scene objects is to attach a Physics Raycaster to the main camera and ensure that the target objects have colliders for raycast to work.
Configuration Steps
- Add the Event Handling Methods to the Habitation script
using UnityEngine; public class HabitationModule : Module { public float OccupantAirConsumption = 1f; public float OccupantWaterConsumption = 1f; public float OccupantFoodConsumption = 1f; public int OccupantCount = 1; public Color HoverColor; private StateManager mgr; private Renderer renderer; private Color defaultColor; void Start() { mgr = GameObject.FindObjectOfType<StateManager>(); renderer = GetComponent<Renderer>(); defaultColor = renderer.material.color; UpdateState(); } void UpdateState() { mgr.AirConsumption = OccupantCount * OccupantAirConsumption; mgr.WaterConsumption = OccupantCount * OccupantWaterConsumption; mgr.FoodConsumption = OccupantCount * OccupantFoodConsumption; } public void PointerEnter() { renderer.material.color = HoverColor; } public void PointerExit() { renderer.material.color = defaultColor; } } - Add the Event System “Physics Raycaster” to the Main Camera to enable in-scene 3D object detection

- Add an Event Trigger component to the target GameObject and define event handlers such as “Pointer Enter” and “Pointer Exit”. The target object is defined in the Object Selector and it’s public accessible method is selected to execute when the event is received.
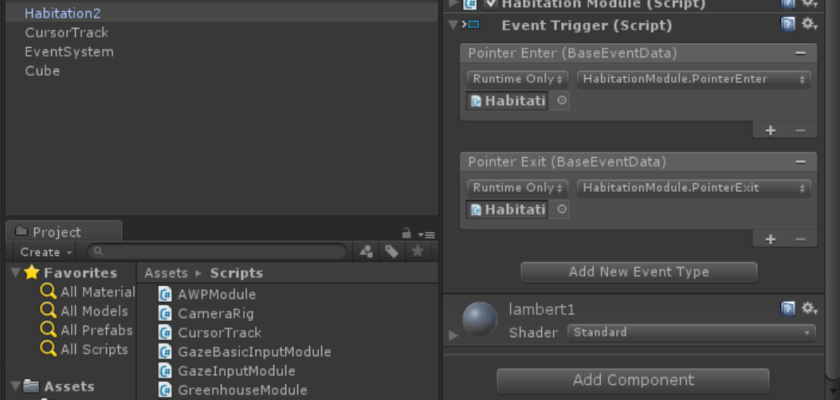
- Add a collider to the object if needed to enclose the object. In the example, a box collider is used.

- When using imported objects, a low-poly mesh can be separately created or generate a collider based on the object mesh.

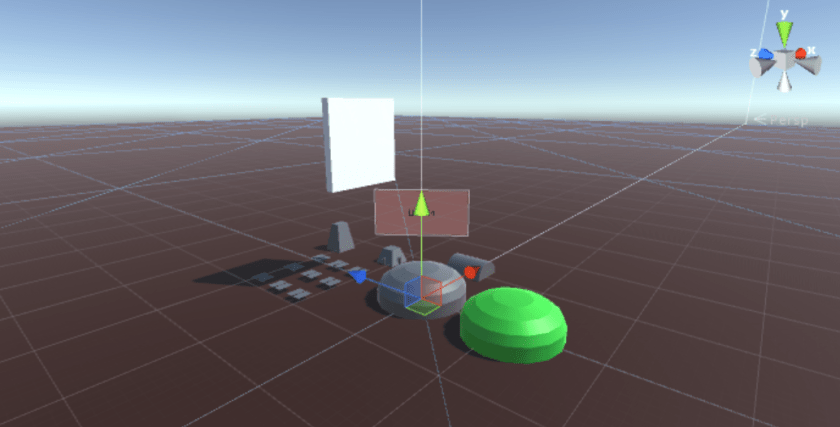
With all the necessary pieces in place, the default Event System Input Module (Standalone Input Module) tracks the mouse and when the pointer is over the game object it would trigger the Pointer Enter event and execute the script which changes the object color.
In the next post, I’ll discuss how to create a custom Input Module based on the user or camera gaze.
For questions, comments or contact – follow me on Twitter @rlozada

You must be logged in to post a comment.