Part of the finishing touches in the simple 3D structure is to separate the “Gate” polygon from the “Structure” so it can be moved later with scripts. I simplify my import process by copying the Maya scene save file (.ma) into the Assets folder in Unity since I have Maya and Unity installed on the same workstation and gives me some flexibility in doing quick edits on the 3D model that carries through the Unity scene.
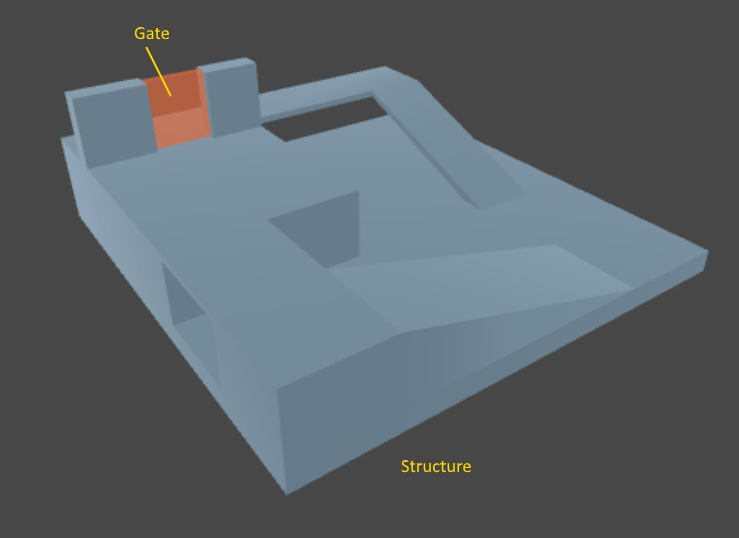
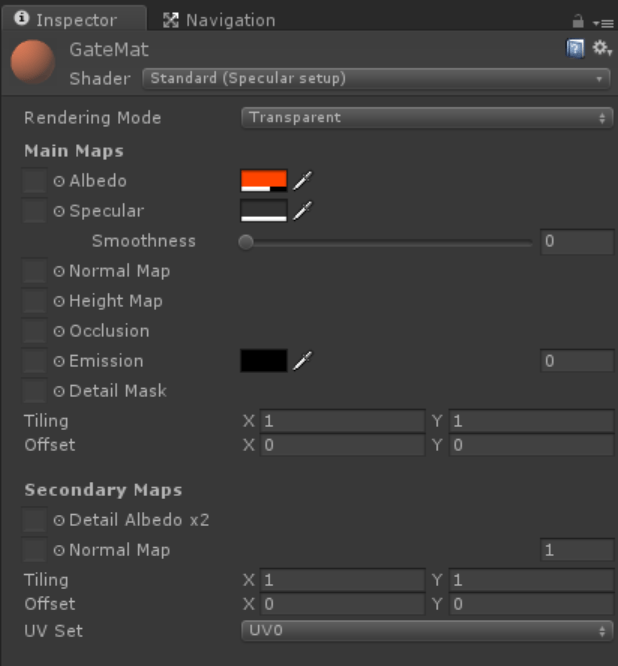
Materials can be assigned in Maya or directly in Unity. In the structure example, I created and assigned 2 new materials for the Structure and Gate objects. I setup the Structure with the Opaque Standard Shader and the Gate with a Transparent Standard Shader with the Alpha value lowered.
Now that we have our Structure setup in the Unity Scene, we can create or Bake the Nav Mesh by selecting “Navigation” from the “Window” entry in the Menu Bar. Select the Structure from the Project Hierarchy and select the “Navigation” tab (or window, depending on your Editor Layout)
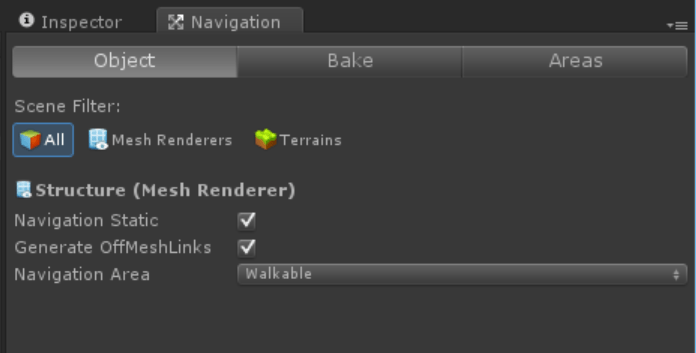
Check “Navigation Static” to designate the selected Structure as a navigation enabled static (non-moving) object in the scene.
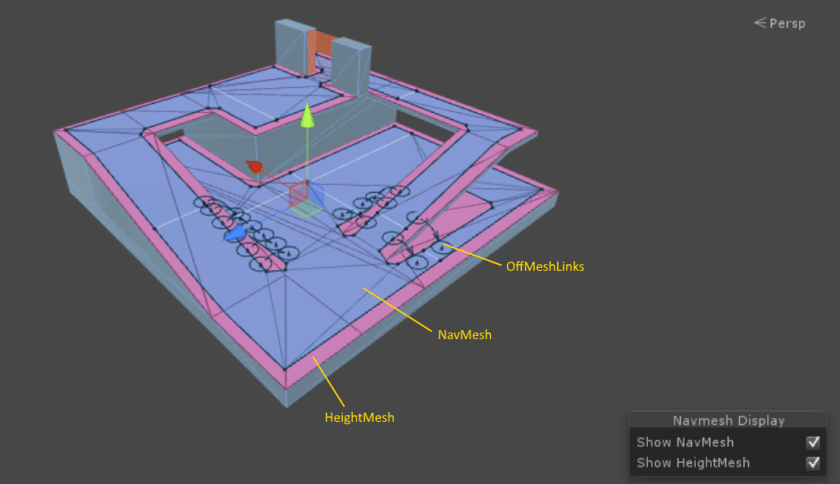
Check “Generate OffMeshLinks” since we have ramps that can enable the character to do an early jump-off.
We designate the structure as “Walkable”.
Switch to the “Bake” tab to define and view the current settings.
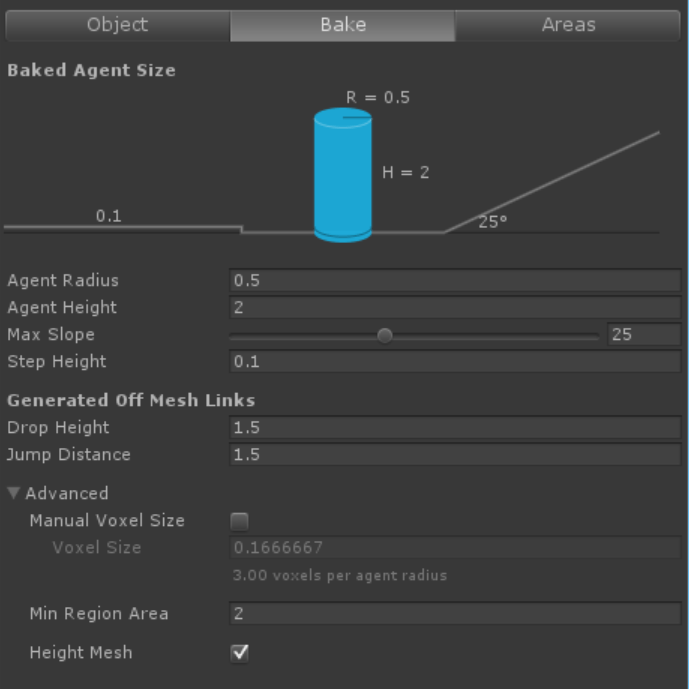
Note that the “Drop Height” is set for 1.5 which should be a safe-enough jump-off height and “Jump Distance” of 1.5, the maximum distance our character can jump a gap.
Enable the Height Mesh for later use in computations (and when we convert one of the ramps to stairs)
Click on “Bake” to generate the NavMesh.
Note that moving, rotating or modifying the structure will require us to re-bake the NavMesh to ensure it matches.
Now that we have a navigation capable structure, we’ll use the Nav Mesh Agent to enable our character to automatically move around the structure just by defining a destination point.
For questions, comments or contact – Twitter @rlozada

You must be logged in to post a comment.