In previous blog posts, I covered 3D object interactions and how to programmatically handle the collider events. The most complex object was a telescoping arm and clamp with a simple range of motion directly manipulating the position and rotation of the child objects and this approach works well for mechanical and solid and interactive components.
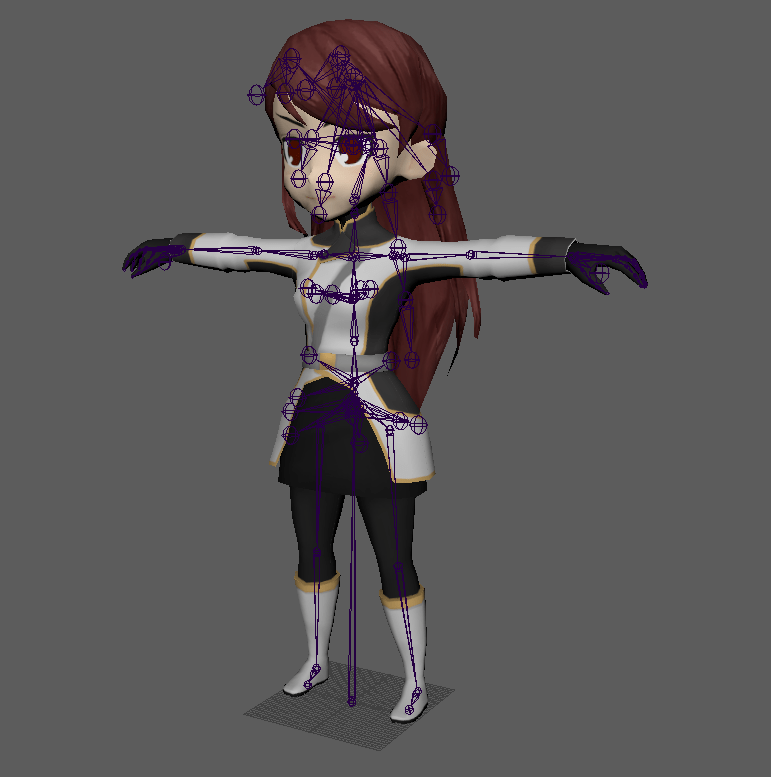
Leaping forward, working with organic systems from anthropomorphized objects, animal and humanoid elements the approach changes to working with joints (also referred to as bones) to animate the model’s 3D mesh. I’ll be using my game character model as the reference.
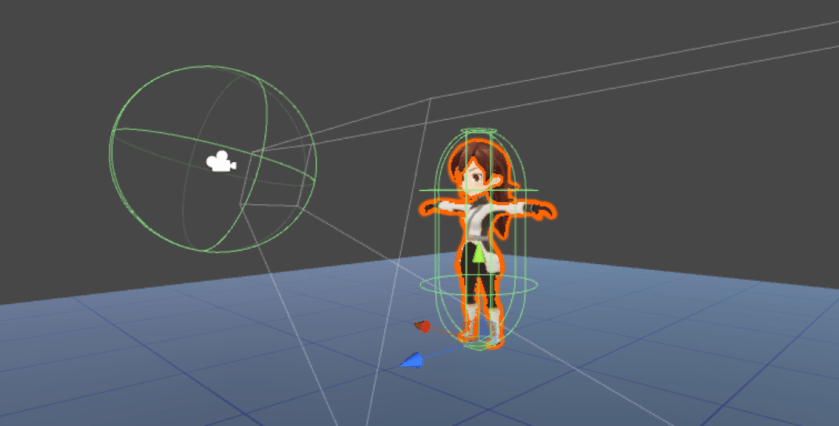
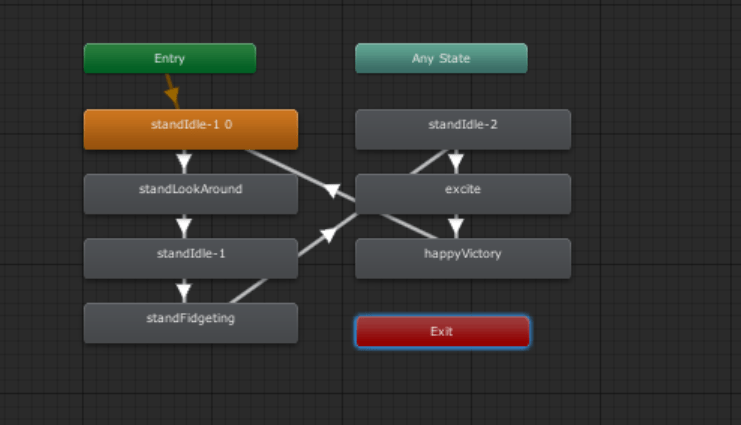
Unity3D provides an animation controller to manage and coordinate multiple animation sequences. Animations are effectively the change in position and rotation of the joint objects over time and they are typically defined in a 3D modelling tool such as Maya, Blender, 3DS Max and the like.
The setup is a simple animated sequence that transitions from the idle state to the various animated actions pre-defined for the character.
The character was created in Maya with the corresponding joints along with the necessary rigging to define the animation.
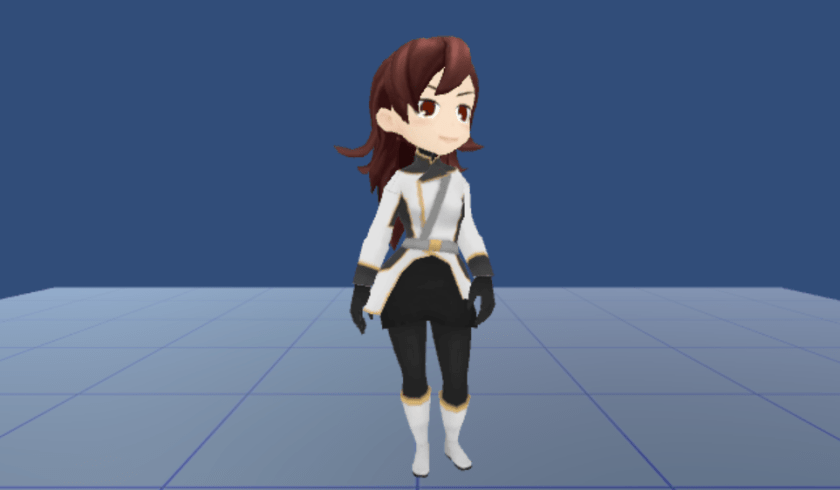
The character also supports additional uniform/clothing options, I’m including the Engineering and Space Suit option as examples.


The running setup can be viewed on the demo website at:
http://orbitalfoundry.com/WebGL/CharacterControl/index.html
The camera view can be controlled using a connected Xbox One Controller or Keyboard Arrow Keys.
I’ll be discussing the various steps from character creation, joints setup, animation, character interaction and inverse kinematic on later blog posts. Here’s a sample Inverse Kinematics project video capture.
For questions, comments or contact – follow/message me on Twitter @rlozada

You must be logged in to post a comment.